Thursday 23 January 2014

Zbrush UV Master & Noise Maker Tutorial

Right so I found a helpful thing out and so I want to share it. There is no point in having knowledge if you aren't gonna share it.

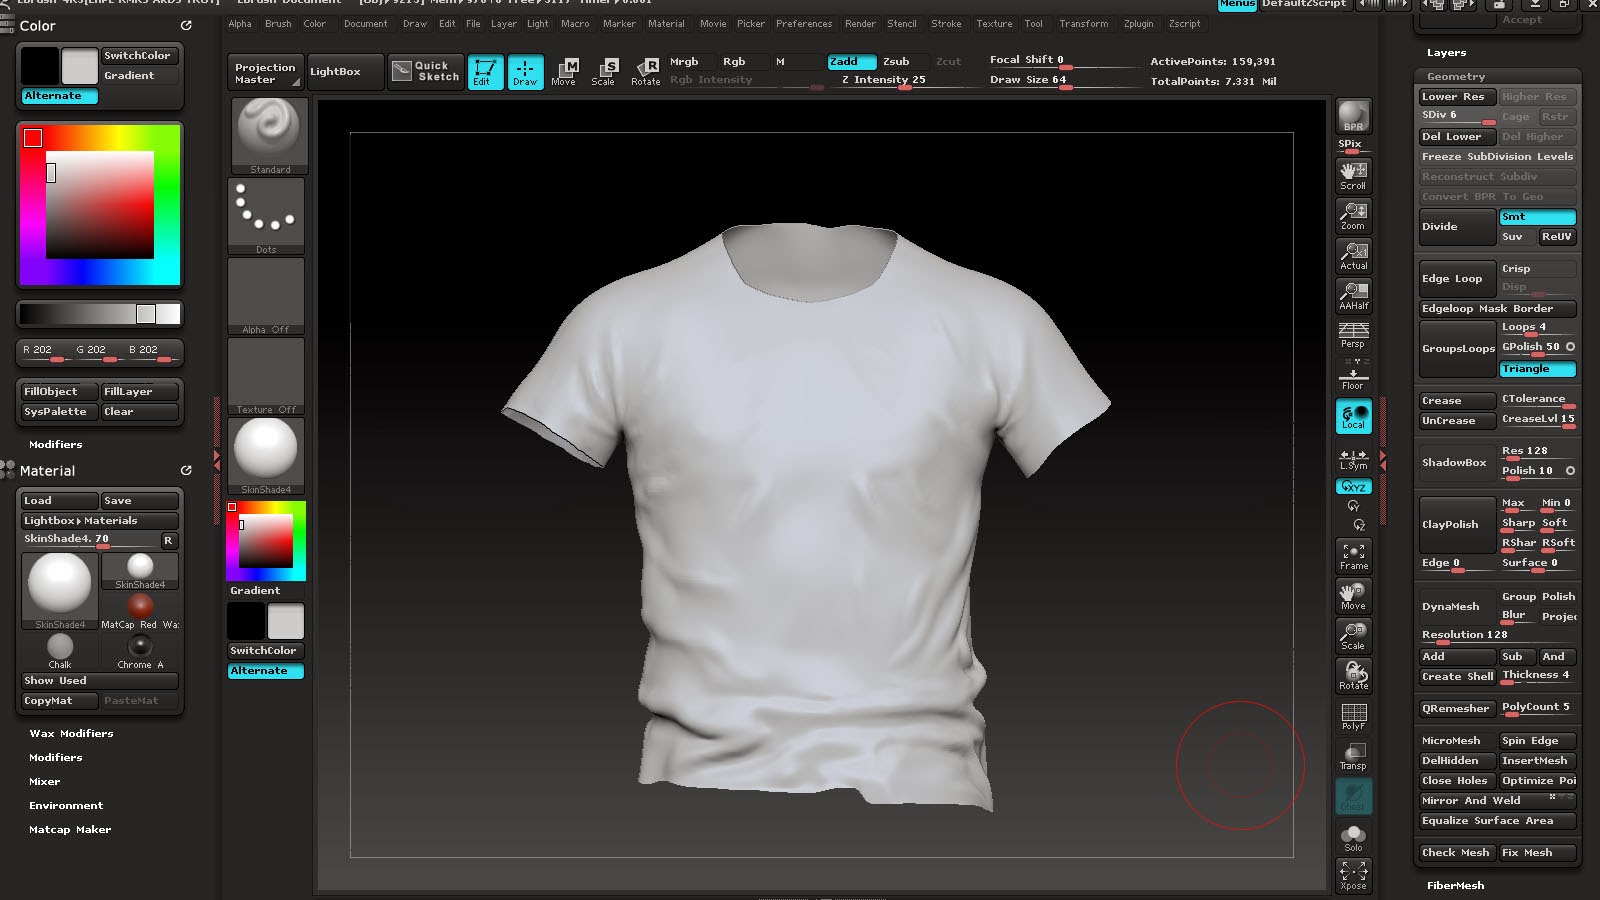
So you want to put a texture onto your Zbrush Subtool, for example I have a T-shirt here. Now I want to add a clothing pattern to this. Okay so a few ways you could do this is by unwrapping it in Zbrush like how I'm going to show you or you could do it later in your texture process in which you create a tileable to overlay the shirt and create a normal map from that. So no matter what you have to unwrap it. I first thought unwrapping was annoying in Zbrush but it's simple if you know how.


1/ First go to your lowest subdivision > then access Zplugins and you'll see UV Master

2/ Now you want to click "Work on Clone". This will make sure you don't mess up your original mesh and this will provide you with a new subtool to work on.

3/ So if i click flatten to preview my UV you can see it's just  a mess. We need to define the areas for seams. So to do this you click " Enable control painting". You have three options Attract, Protect and erase. Attract will try to put the seams in that place. Protect will  protect that area from seems and erase is used to fix any mistakes you do. This is good to do on faces for things like clothes I've found it easier to unwrap by polygroups. If you don't already have polygroups don't worry it's simple to add, just mask the area you want to make into a group and click CTRL + W. You can check this easily by using SHFT + F.


4/ Once your done you should have something like below. It looks like a template used in clothes making and that's what you'll be looking for. Now if I applied a texture now it wouldn't flow in the correct directions because the UV's aren't lines up straight.


5/So to do this you just use the transpose tool like you would on a normal mesh. You can easily select and hide polygrouped meshes using CTRL+SHIFT+ L-CLICK on the object. Once your done it should look something similar to the below image. You are trying to keep the mesh as straight as you possibly can so it can deform the texture around the mesh better.


6/Once you're done click "Copy UVs" in the UV Master panel and then you want to do back to your original mesh and press "Paste UVs". Now how I check if it worked okay is I go down to texture map under tool panel and press "New From UV Map". It then displays what it looks like on your model and you can always go back and forth between your new subtool to change anything. Just remember to copy and paste your new UVs every time.


7/Okay the next step is NoiseMaker, you can fine this under "surface" again in the tools menu. Once you press Noise you will get the menu below and it kindly supplies us with a preview of what will happen. Now if you want to use your own alpha texture then down where it says "Alpha On/Off" in the bottom hand corner. Press that and you will get a link to your documents and you can find the image you want. But Zbrush has a lot of preset as well. So in this instance we will use that by pressing NoisePlug on the upper right hand corner.


8/ More menus, I bet you wished you never started reading. Don't worry it's not that bad, there are a multitude of options to choose from but for the purpose of this demonstration I'm going to use Hextiles as it will be easy for you to see the difference. Obviously you would use a cotton tileable or something of that nature.


9/ Now you can see once I applied the texture it has made this weird stretching. Now you can understand the whole reason why you have to do the first UV steps.

^3D Preview, using 3D co-ordinates of the object^

^3D Preview using set UV co-ordinates for the object ^
10/ Right the main reason you did all of this is then to use it as part of getting more detail in your mesh. So bump up your subdivisions then in the surface panel "Mask by Noise". This is a handy way of creating a precise mask across the mesh. What you can do now is use the deformation panel and offset or inflate parts to give you that next bit of detail for your high poly mesh.

Mask


Inflate balloon

IMPORTANT THINGS TO NOTE
You can see I have some weird stretching going on even still, if you want to rectify that you can edit the UV's when you are unwrapping the object. You can use move tool like normal and try and straighten out the mesh. Its a little time consuming and that's why I didn't do it for this tutorial but just keep that in mind. Try and make sure you have good texel density for your object.


So there you go that's a brief tutorial on what I learned. By in no means am I an expert but if you have any problems feel free to message me and I'll try to help. This might not be the most efficient way to do it but i find it quite useful especially for quilting and things like scales.

Hope you found it useful :)


Saturday 18 January 2014

Radiant team wins

So been working on a few things, was searching a bit into Dota 2 items and started to make a Phantom Lancer weapon. This is the first weapon I've done in a long time and i wanted to do something simple so i could learn the process of making assets for valve. They do things differently than UDK and so it's interesting to learn another pipeline and they use a lot of masking mix maps for their Dota shader. Anywho here is a preview of how its coming along, still need plenty of work but its something to break up comicon.


So I haven't been as productive as I should have been with the comicon challenge. I have been working alot in max again as that's where I'm most comfortable creating the shapes of the mesh. I tried to do this in Zbrush after watching a few tutorials learning about panel loops but i just feel more comfortable in max. I really want to bring my Zbrushing to the next level and so hopefully get in some good detailing into this model.


 Above is when i attempted to do the straps in Zbrush but I found it more difficult than with below which is my max version. I can do a number of techniques in max using the conform tools and the base topology to create a more hugging mesh.

 I also did a silhouette check to see if she loos unique and still look like hisako. Feet need to be bigger again...maybe i have a fetish for small feet or I'm scare of giving her man feet but yeah i'll have to sort that out.


Sunday 12 January 2014

I can poly group now, why have I waited so long?

So it's been a while since I tried a female character and the last time I intentionally did weird proportions so it's quite the change trying to get them right. Even though this is all based off comic book character which tend to be more slender and taller than the usual head height I want to try and make mine as realistic as I can. As you can see with my doodling I have a lot of changes to make right off the bat but I'm trying to notice the things that are wrong and amend them in the earlier stages when its a lot easier to fix it.

Even now I am learning new things, mostly to do with Zbrush in which I welded two subtools together without a seem using subtool master and importing the mesh to weld the points. Learning more about the interface and ways to enhance it better for myself. I did a crappy unwrap of my base mesh in order to create the poly groups, this seemed easier than trying to mask off the areas in Zbrush especially when some stuff is close together (which reminds me i really should spread my arms a bit). Learning is fun :)


 Sorry if you can't read my crappy writing and so here are my rants copied just in case you can't.
- Soften head features                                      - volumise hair more
- Make eyes less anime                                    - thicken wrists
- Hands need to be bigger?                              - do the legs need more girth
- Arms too long?                                              - feet too small or forearm too big?
-Taper in neck                                                 - calves a bit flat (ankles ain't that dainty)
- Flatten nose bridge                                         - neck still too long (I already fiddled with this)
- Round butt more, careful though shes suppose to be Asian at the end of the day (no offense)

Any more suggestions or help would be highly appreciated, I made a game artisans account today so I'll have to post my stuff soon and get some crit.


Playing about cause I'm a freak, no real reason but I want to keep playing with the costume, unless I'm doing "final" in which case this is just a waste of time. But at the current moment in time I'm still liking the stand idea and I like her without as much armor on. So i might just keep swapping in and out to see what I think looks better while keeping her unique but true to the character. Character design is tough sometimes :/

Wednesday 8 January 2014

Comicon...No, ComiCAN

 Ever since I learnt about the Comicon challenge in uni it has always excited me. Unfortunately it hasn't been running for the last few years so i was eager at its return. I'm a nerd and so love games and comics so it's a great way to express that love.

So Comicon always has a theme and this years is "Final Stand", the choices are "final" in which to pick a character and have them in the midst of battle weary and about to unleash their last effort to win, Or "stand" in which a hero has returned after a long time for the first time ready to face the battlefield and save the world.

At first these seemed hard for me to get my head around but the more I thought about it the more excited I got. The possibilities with the both of them are immense with huge potential, the only thing was I had to pick a character. Easier said than done, I love so many characters in comic books but i knew it was going to be part of the X-men universe as they are my favourite. So after a few hours researching I decided on Armor, as I researched more into her I got more excited at the possibilities she posed. She has the ability to create and exoskeleton of armor to fight and protect herself. I love this concept and think it would translate really well into an awesome model.


So what theme to choose, final or stand. Well they both provided me with interesting ideas and so i thought I would sketch and come up with what I was thinking.


It took me a while to get what I was thinking, i revised the character multiple times just trying out different things before coming to the above. So as you can see you have nude sketch then now outfit, outfit with my take on her armor activated then the themes, final and stand.


So for "Final" I wanted it to look like she had a tough time in this battle, she has multiple cuts, hair has been torn out and has even lost and arm. Losing the arm is something I definitely wanted, the idea that she can generate an exoskeleton in replace of the arm excited me. Now for her last attack (otherwise beauty shot) I would either have her in full armor mode but the armor takes on the form of an Nio, an ancient Japanese guardian. It has been expressed that armor has a link to her Japanese ancestors and that her power can almost remember what its went through. So either that or one last punch with her lost arm in armor mode.


For "Stand" I wanted to do some redesigning and more than this incorporate both the themes to make a story in which she had fought out this battle 10 years ago and lost the courage, the battle and her arm. She has been training in Japan to get stronger so this time she won't fail. This means that her arm would still be missing and I loved the idea of having her armor on all the time with a samurai sword. Usually She can only use it for about an hour or two and so this would show her progress already. Now the armor arm she has on can change i'm not sure how i want it to look but I thought a more slim line human version would be cool or the complete opposite, maybe like a hellboy arm type motif. As for her outfit I liked the idea of even though I've based it 10 years in the future she is staying quite tradition almost medieval armor (maybe samurai armor would make more sense but it's what looks good right?) I kept the traditional colours of the x-men declaring shes still with them. For this beauty shot I would have her on top of a rock as if entering the battlefield.

At the minute I am leaning more towards stand probably because I'm obsessed with metal armor at the minute and I feel it would be a stronger entry than "final". One other problem i can foresee is the competition rules state no other characters and so i might be breaching those rules because the exoskeleton could be seen as a full character model and even though attached to armor it's still another model that would need to be retopo'd, textured...etc.

Anywho I think I've rambled on enough I will try keep you all updated. By all i mean maybe the two people that actually read my bullshit :D