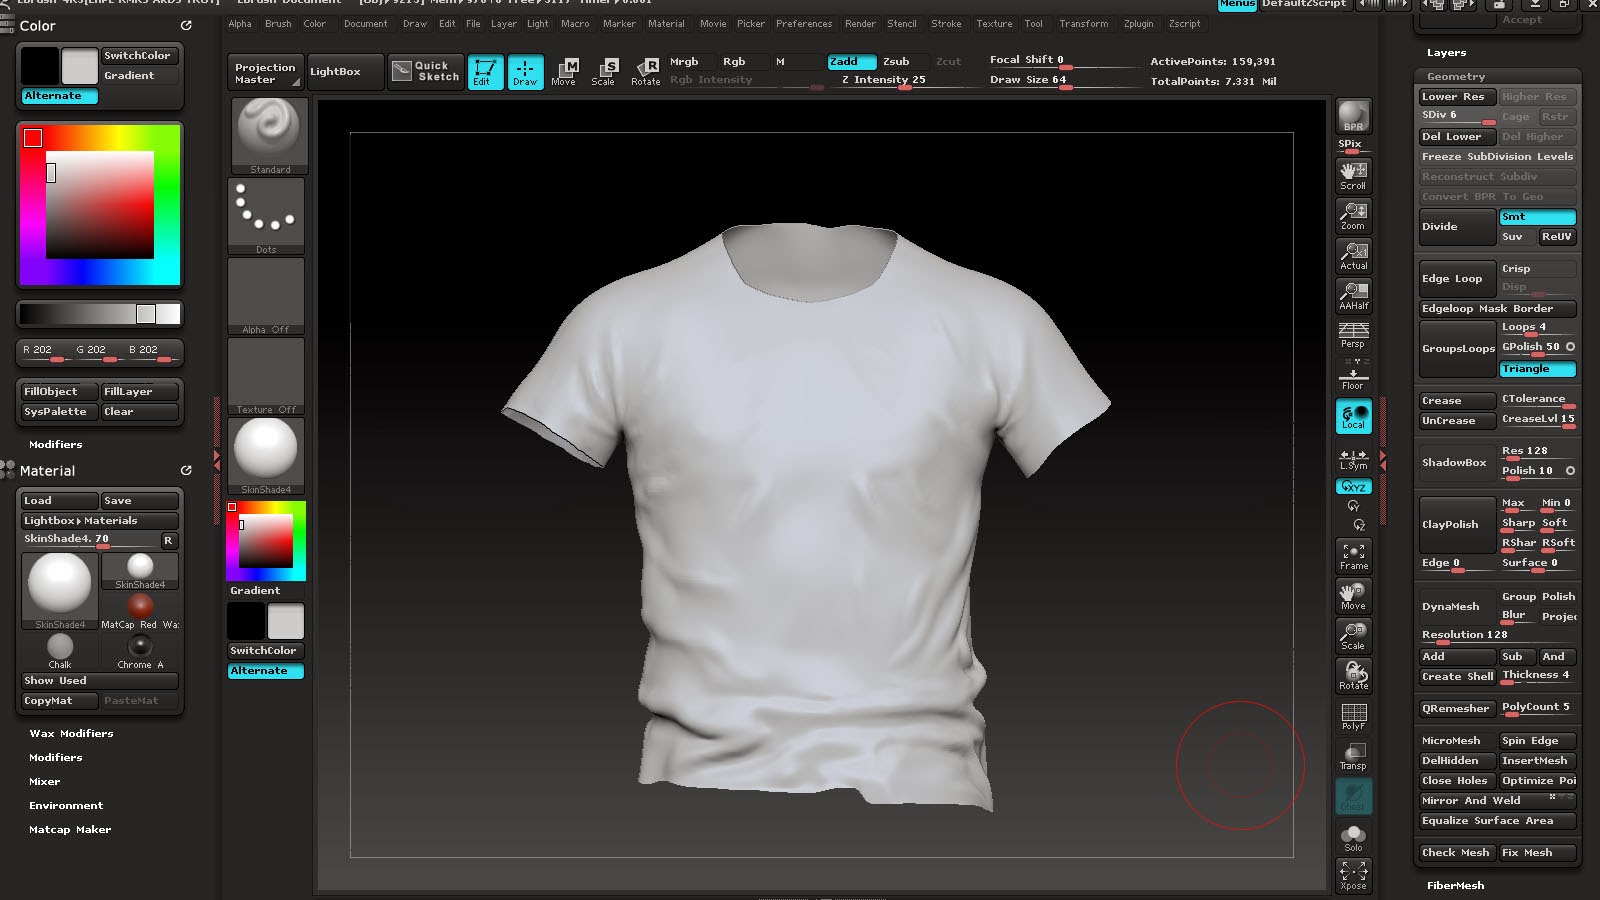
So you want to put a texture onto your Zbrush Subtool, for example I have a T-shirt here. Now I want to add a clothing pattern to this. Okay so a few ways you could do this is by unwrapping it in Zbrush like how I'm going to show you or you could do it later in your texture process in which you create a tileable to overlay the shirt and create a normal map from that. So no matter what you have to unwrap it. I first thought unwrapping was annoying in Zbrush but it's simple if you know how.
1/ First go to your lowest subdivision > then access Zplugins and you'll see UV Master
2/ Now you want to click "Work on Clone". This will make sure you don't mess up your original mesh and this will provide you with a new subtool to work on.
4/ Once your done you should have something like below. It looks like a template used in clothes making and that's what you'll be looking for. Now if I applied a texture now it wouldn't flow in the correct directions because the UV's aren't lines up straight.
5/So to do this you just use the transpose tool like you would on a normal mesh. You can easily select and hide polygrouped meshes using CTRL+SHIFT+ L-CLICK on the object. Once your done it should look something similar to the below image. You are trying to keep the mesh as straight as you possibly can so it can deform the texture around the mesh better.
6/Once you're done click "Copy UVs" in the UV Master panel and then you want to do back to your original mesh and press "Paste UVs". Now how I check if it worked okay is I go down to texture map under tool panel and press "New From UV Map". It then displays what it looks like on your model and you can always go back and forth between your new subtool to change anything. Just remember to copy and paste your new UVs every time.
8/ More menus, I bet you wished you never started reading. Don't worry it's not that bad, there are a multitude of options to choose from but for the purpose of this demonstration I'm going to use Hextiles as it will be easy for you to see the difference. Obviously you would use a cotton tileable or something of that nature.
9/ Now you can see once I applied the texture it has made this weird stretching. Now you can understand the whole reason why you have to do the first UV steps.
^3D Preview, using 3D co-ordinates of the object^
^3D Preview using set UV co-ordinates for the object ^
Mask
IMPORTANT THINGS TO NOTE
You can see I have some weird stretching going on even still, if you want to rectify that you can edit the UV's when you are unwrapping the object. You can use move tool like normal and try and straighten out the mesh. Its a little time consuming and that's why I didn't do it for this tutorial but just keep that in mind. Try and make sure you have good texel density for your object.
So there you go that's a brief tutorial on what I learned. By in no means am I an expert but if you have any problems feel free to message me and I'll try to help. This might not be the most efficient way to do it but i find it quite useful especially for quilting and things like scales.
Hope you found it useful :)
Hope you found it useful :)


No comments:
Post a Comment